

Mastering the Lifted Increase
Lifted increases are my favorite. They are so seamless that I regularly substitute them into raglan patterns, even if the designer calls for something else. To knit lifted increases, you will work a simple 2-row pattern. When working in the round your sequence is:
Round 1: Increase
Rounds 2: Knit
When worked flat, your sequence is;
Row 1: Increase
Row 2: Purl
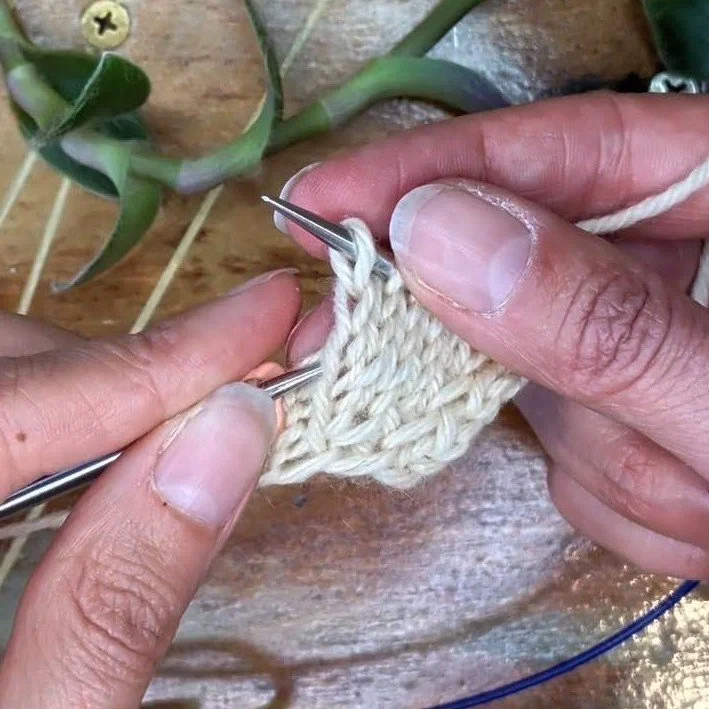
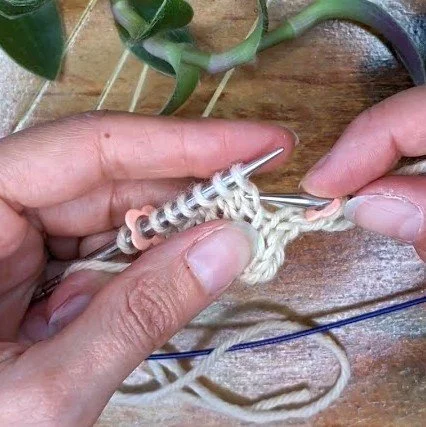
Left Lifted Increase (LLI): Knit the stitch you want to increase after. Using your left needle, pick up the left leg of the stitch two rows below (start counting from the stitch directly beneath the one on your needle). Place it on the left needle, knit it as normal, and continue. Of course, there’s also a tutorial!
Left Lifted Increase: Lift the left leg of the stitch 2 rows below the stitch on your right needle.
Right Lifted Increase (RLI): Knit until you reach the stitch you want to increase before. Lift the right leg of the stitch one row below the one on your needle and place it on your left needle. Knit this stitch and continue. And yes, I’ve also made a tutorial for the RLI!
Right Lifted Increase: Lift the right leg of the stitch in the row below the stitches on your left needle.
The Logic Behind the Rows
The trickiest part is identifying which row to pick up. Even though the instructions specify different rows, you are actually working into the same row of fabric. The count only changes because you are lifting the leg before or after you have worked the current stitch on your needle.
Visual Effects
You can swap the order of these increases to change the look of your project:
Leaning Toward: Working the LLI followed by the RLI creates a line of stitches that lean toward each other. This creates a beautiful, clean detail, generally seen along a raglan shoulder.
Leaning Away: Working the RLI followed by the LLI makes the stitches lean away from each other. This is the sequence I use in my So Damn Good Mitts to create a bold, mirrored accent line.
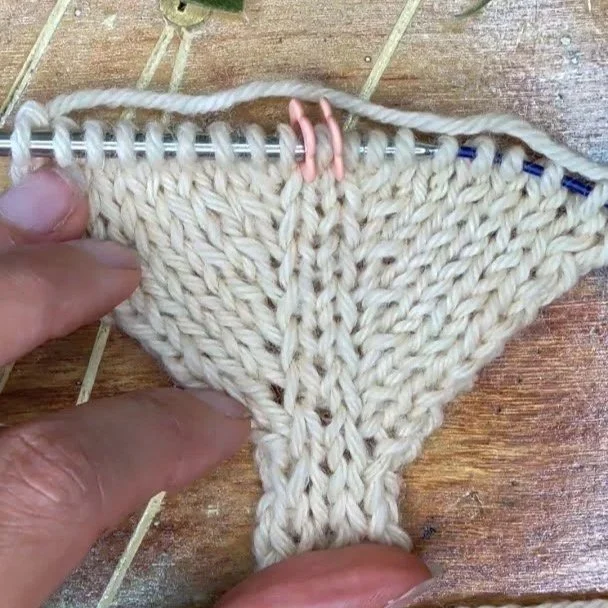
Leaning Toward: Lifted Increases with one knit stitch between them. This construction is typical for Raglan increases.
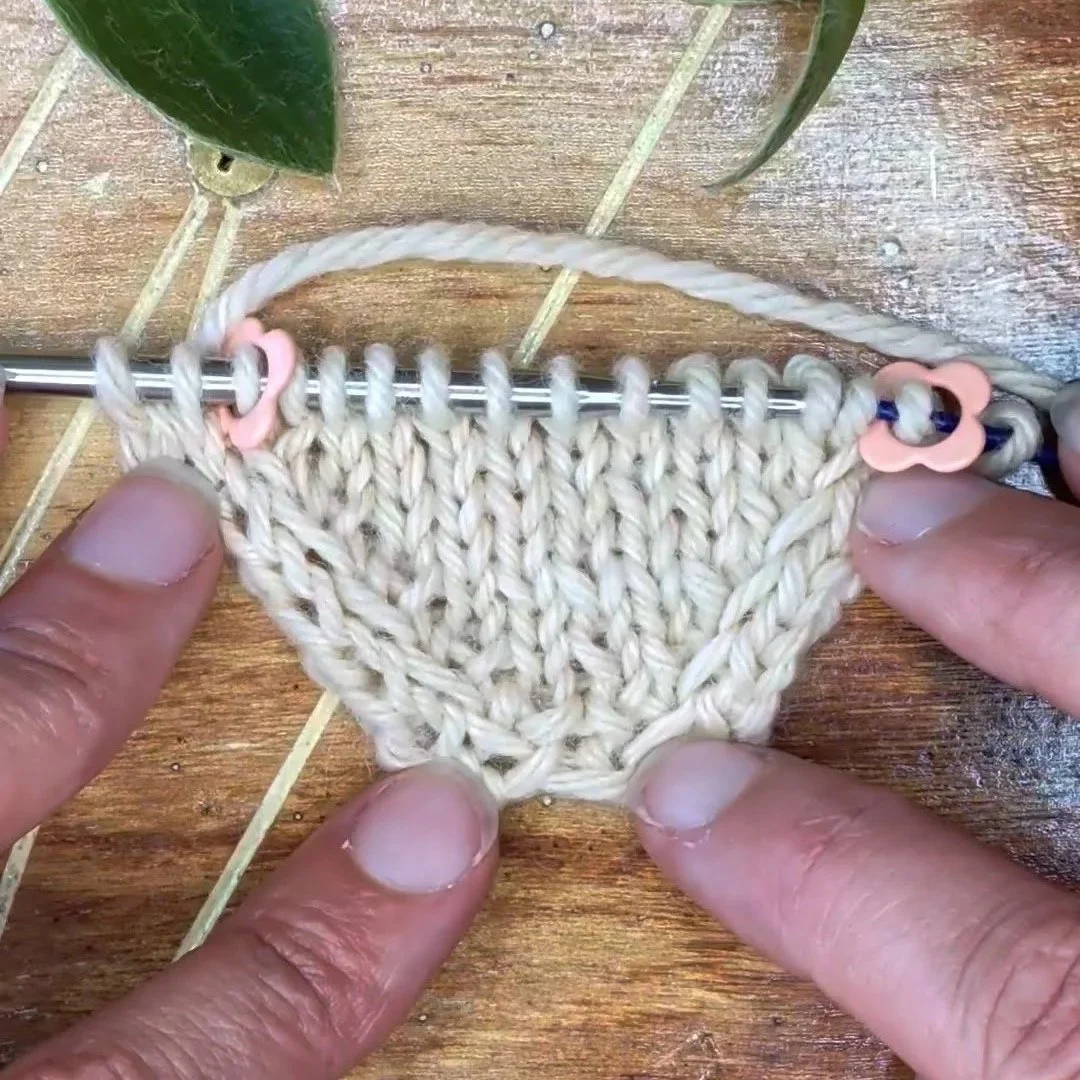
Leaning Away: Lifted Increases with the Right Lifted Increase worked first (on the right), and the Left Lifted Increase worked second (on the left). This construction is typical for thumb gussets.
How to Substitute Lifted Increases
Substituting lifted increases is simple. If your pattern calls for M1L/M1R, you could substitute LLI and LRI in place. The important thing to remember for Raglan shaping is to have the Left increase first, and the Right increase second so that they lean towards each other. An example pattern would read:
Round 1: *knit to m, M1L, sm, k1, sm, M1R*; repeat…
Round 2: *knit to m, sm, k1, sm*; repeat…
To substitute lifted increases you would work your pattern as follows:
Round 1: *knit to m, LLI, sm, k1, sm, RLI*; repeat…
Round 2: *knit to m, sm, k1, sm*; repeat…
Questions? Drop them in the comments below!