

A Simplified Tubular Cast On for a Clean & Easy Finish
There are so many ways to create a tubular cast on and so many names for the technique. It’s hard to keep track and even harder to know what a designer means when they say “tubular cast on.” And to be clear, I’m guilty of this as well. So I decided to fix it by creating a blog post and video tutorial to demonstrate how I work a tubular cast on.
Step one: Setting up for the first stitch I prefer to create a twist with the yarn for my first stitch, so that is the technique I’ll talk through. You can also use a slip knot, but I find that it actually shows in the edge of the finished item and I don’t like the look of it.
Hold your knitting needle in your right hand and drape the yarn over the top and make sure the tail end hangs in front. To twist the yarn, hook the back strand with your forefinger and pull it toward the front. Slip your thumb behind that strand and pull it forward while letting it slide from your forefinger. Use your forefinger to push back on the strand now behind your thumb to tension the yarn. After completing the twist, you should have the tail over your forefinger and the ball end over your thumb. Having your yarn ends arranged this way is important for your last cast-on stitch, as it sets you up with the working yarn in the right place. Hold the yarn in a Y shape—firm, but don't strangle it.
Step two: The Purl Stitch
You’ve set up your yarn with a knit stitch as the first stitch, so we’ll create a purl stitch next. Keep your left hand as stationary as possible and maintain tension on the yarn strands. Use your right hand to move your needle backward, over your forefinger strand, behind, and back up through the center of the two strands. You have essentially created a yarn over with this move. Now, move the needle over and to the front of the strand around your thumb, around and under to come back up at the back of your right needle. This loop sits under your needle, securing your yarn over as a stitch and creating the purl bump.
Step three: The Knit Stitch
Again, keep your left hand as stationary as possible and maintain tension on the yarn strands. Use your right hand to move your needle forward, over the thumb strand, come down, around, and back up into the center of the two strands. You have created a backwards yarn over with this move. Next, move the needle backwards to go over and around your forefinger strand, and bring the whole thing forward and up in front of your thumb strand. This will secure your backwards yarn over as a twisted knit stitch. Yes, it should be a twisted stitch.
Step four: Repeat
Repeat steps two and three until you have the number of stitches indicated in your pattern. As you get more comfortable with this technique, you’ll notice it’s easier to make the stitches by moving your left hand in rhythm with your right. At that point, don’t worry about keeping your left hand stationary; just ensure you’re keeping tension and keeping count of your stitches.
A tip for keeping your place
Notice that as you work each stitch, the strand of yarn on top swaps. After you twist your yarn, the thumb strand sits on top. After you work your first purl stitch, the forefinger strand sits on top. This is something you can keep track of to help you know which stitch you're creating next. If the thumb strand is on top, you are moving your needle backward to create a purl stitch. If the forefinger strand is on top, you are moving your needle forward to create a knit stitch.
Step five: Turning your work
Pinch your yarn, hold it against your knitting needle, and turn your work. You will work the next row as follows: k1tbl, sl1wyif; until the last 2 sts, k1tbl, p1. I work this row flat even if the pattern is knit in the round.
Step six: Joining or Continuing
If you are knitting flat, knit the ribbing as instructed by the pattern. If you are knitting in the round, we’ll join by working the next round as follows: Sl1wib, p1, k1 to last st, p1. Place your BOR marker and knit your ribbing.
A tip for a better join
Two stitches before the end of the first row, pick up the cast on tail and hook it the same way you'd catch a float when you work the last k1tbl of the row. You can either drop it there or catch it a few more times as you work the first round of ribbing. Pull it taut so that there’s no extra loop, but not overly tight. This helps to avoid gap between the first and last stitch when you join in the round.
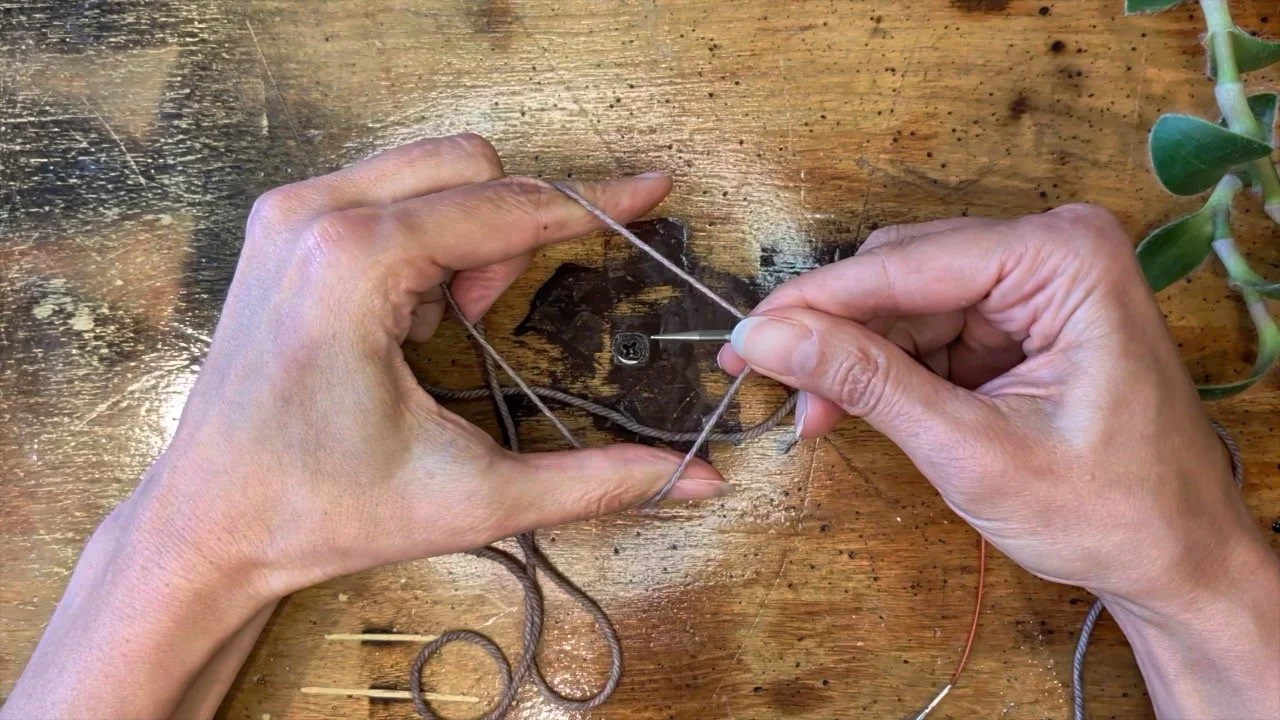
The Set Up: Hold the yarn in a Y-shape between your thumb and forefinger. The tail of the yarn should be wrapped over your forefinger, with the main ball wrapped over your thumb.
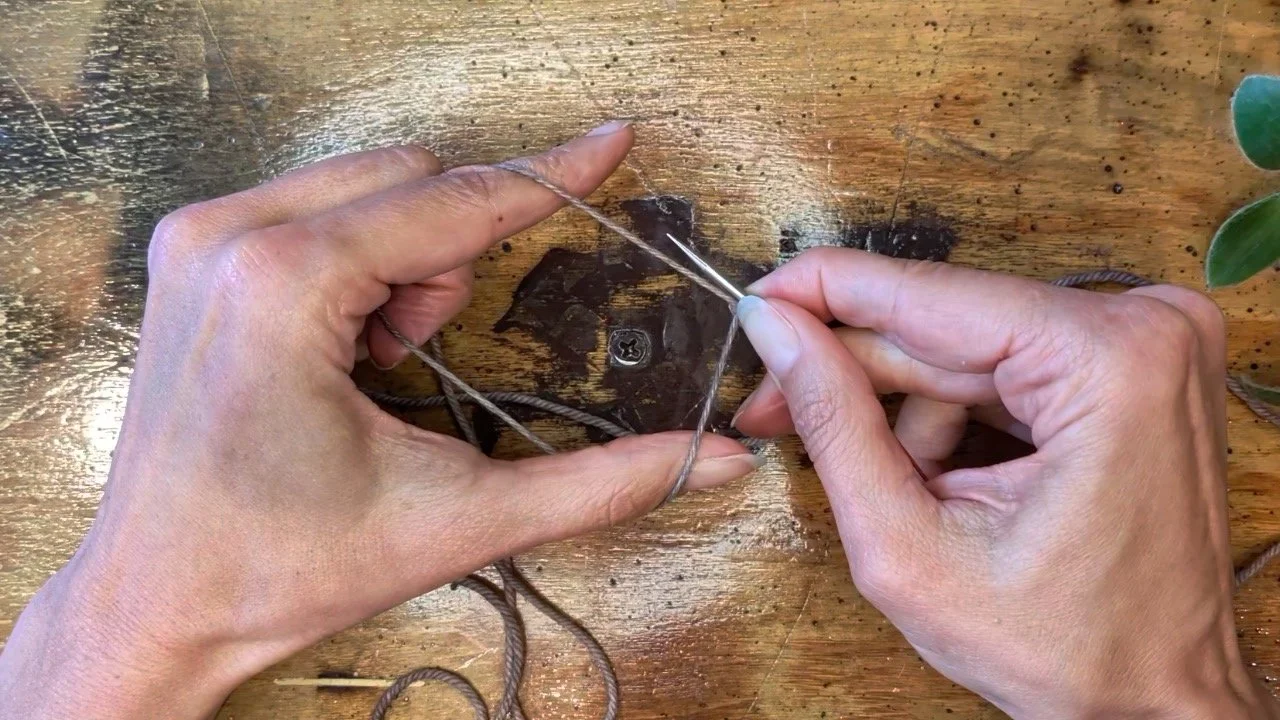
Purl Stitch: Bring the knitting needle backwards, and over the forefinger strand of yarn.
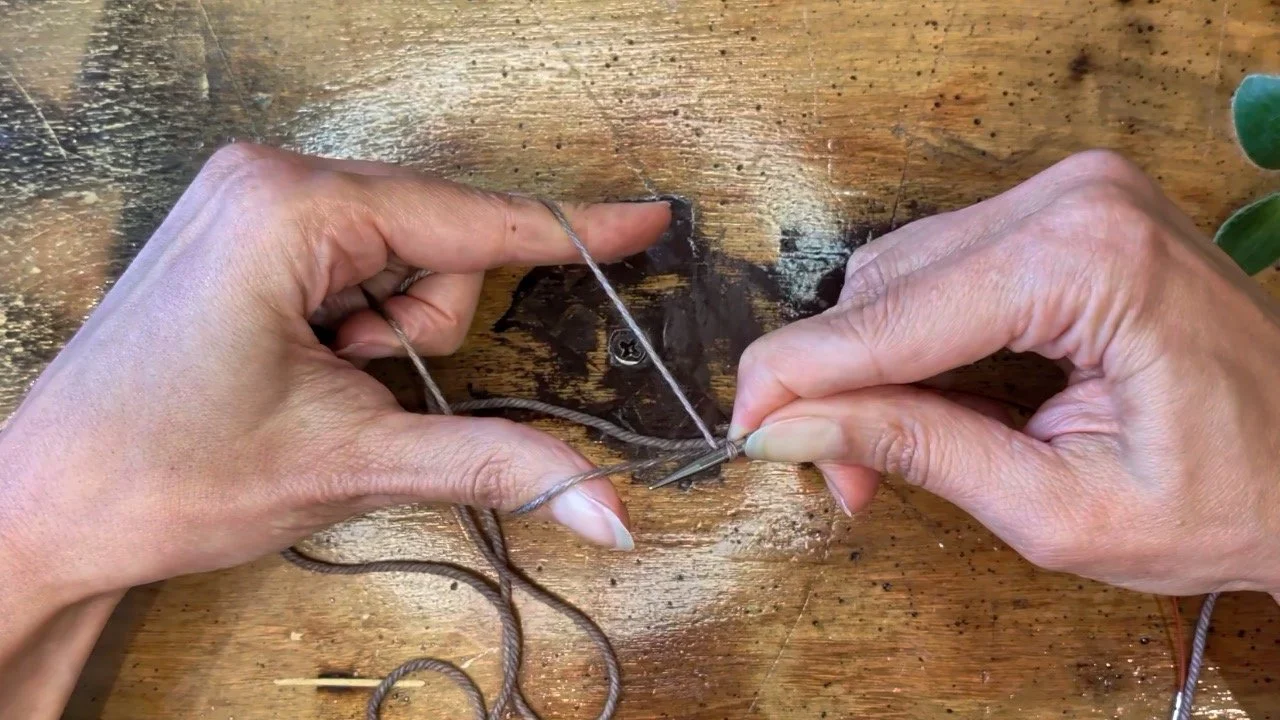
Knit Stitch: Bring the knitting needle forward, and over the thumb strand of yarn.
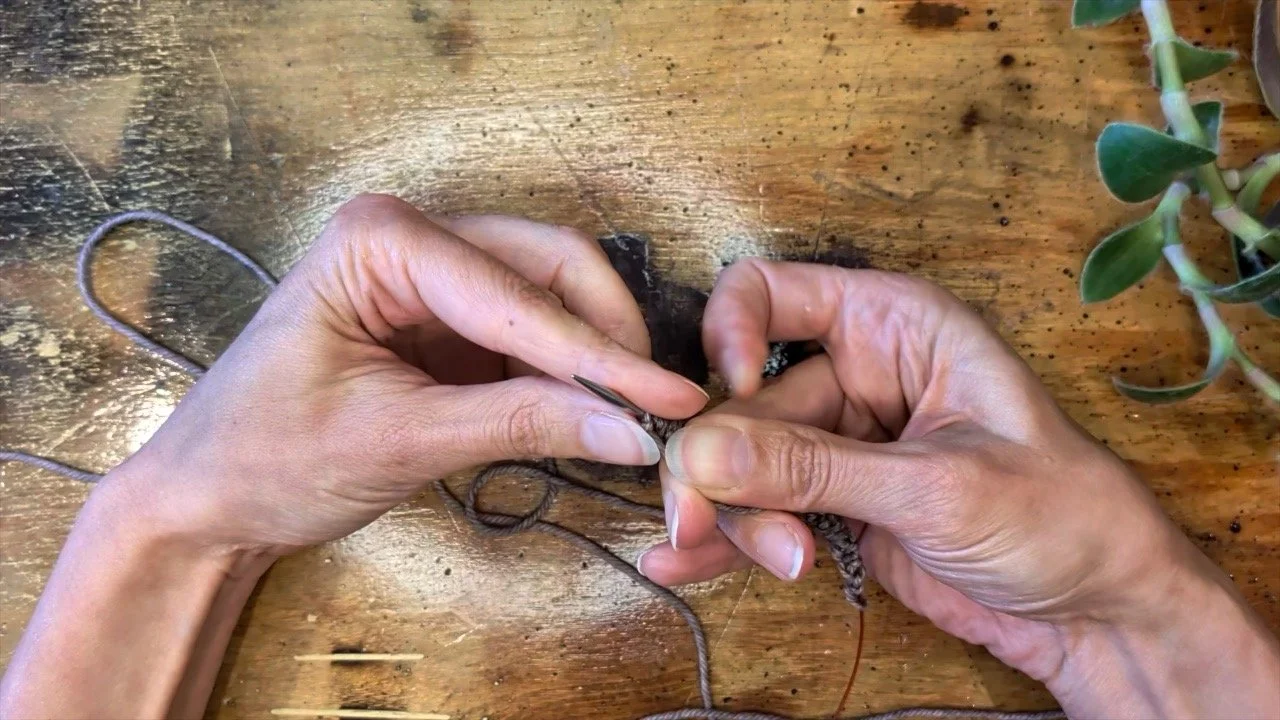
Turning Your Work: Pinch both ends to the needle while you turn your work to knit the foundation row.